Camille Rose's Recipe for Beauty - Janell Stephens
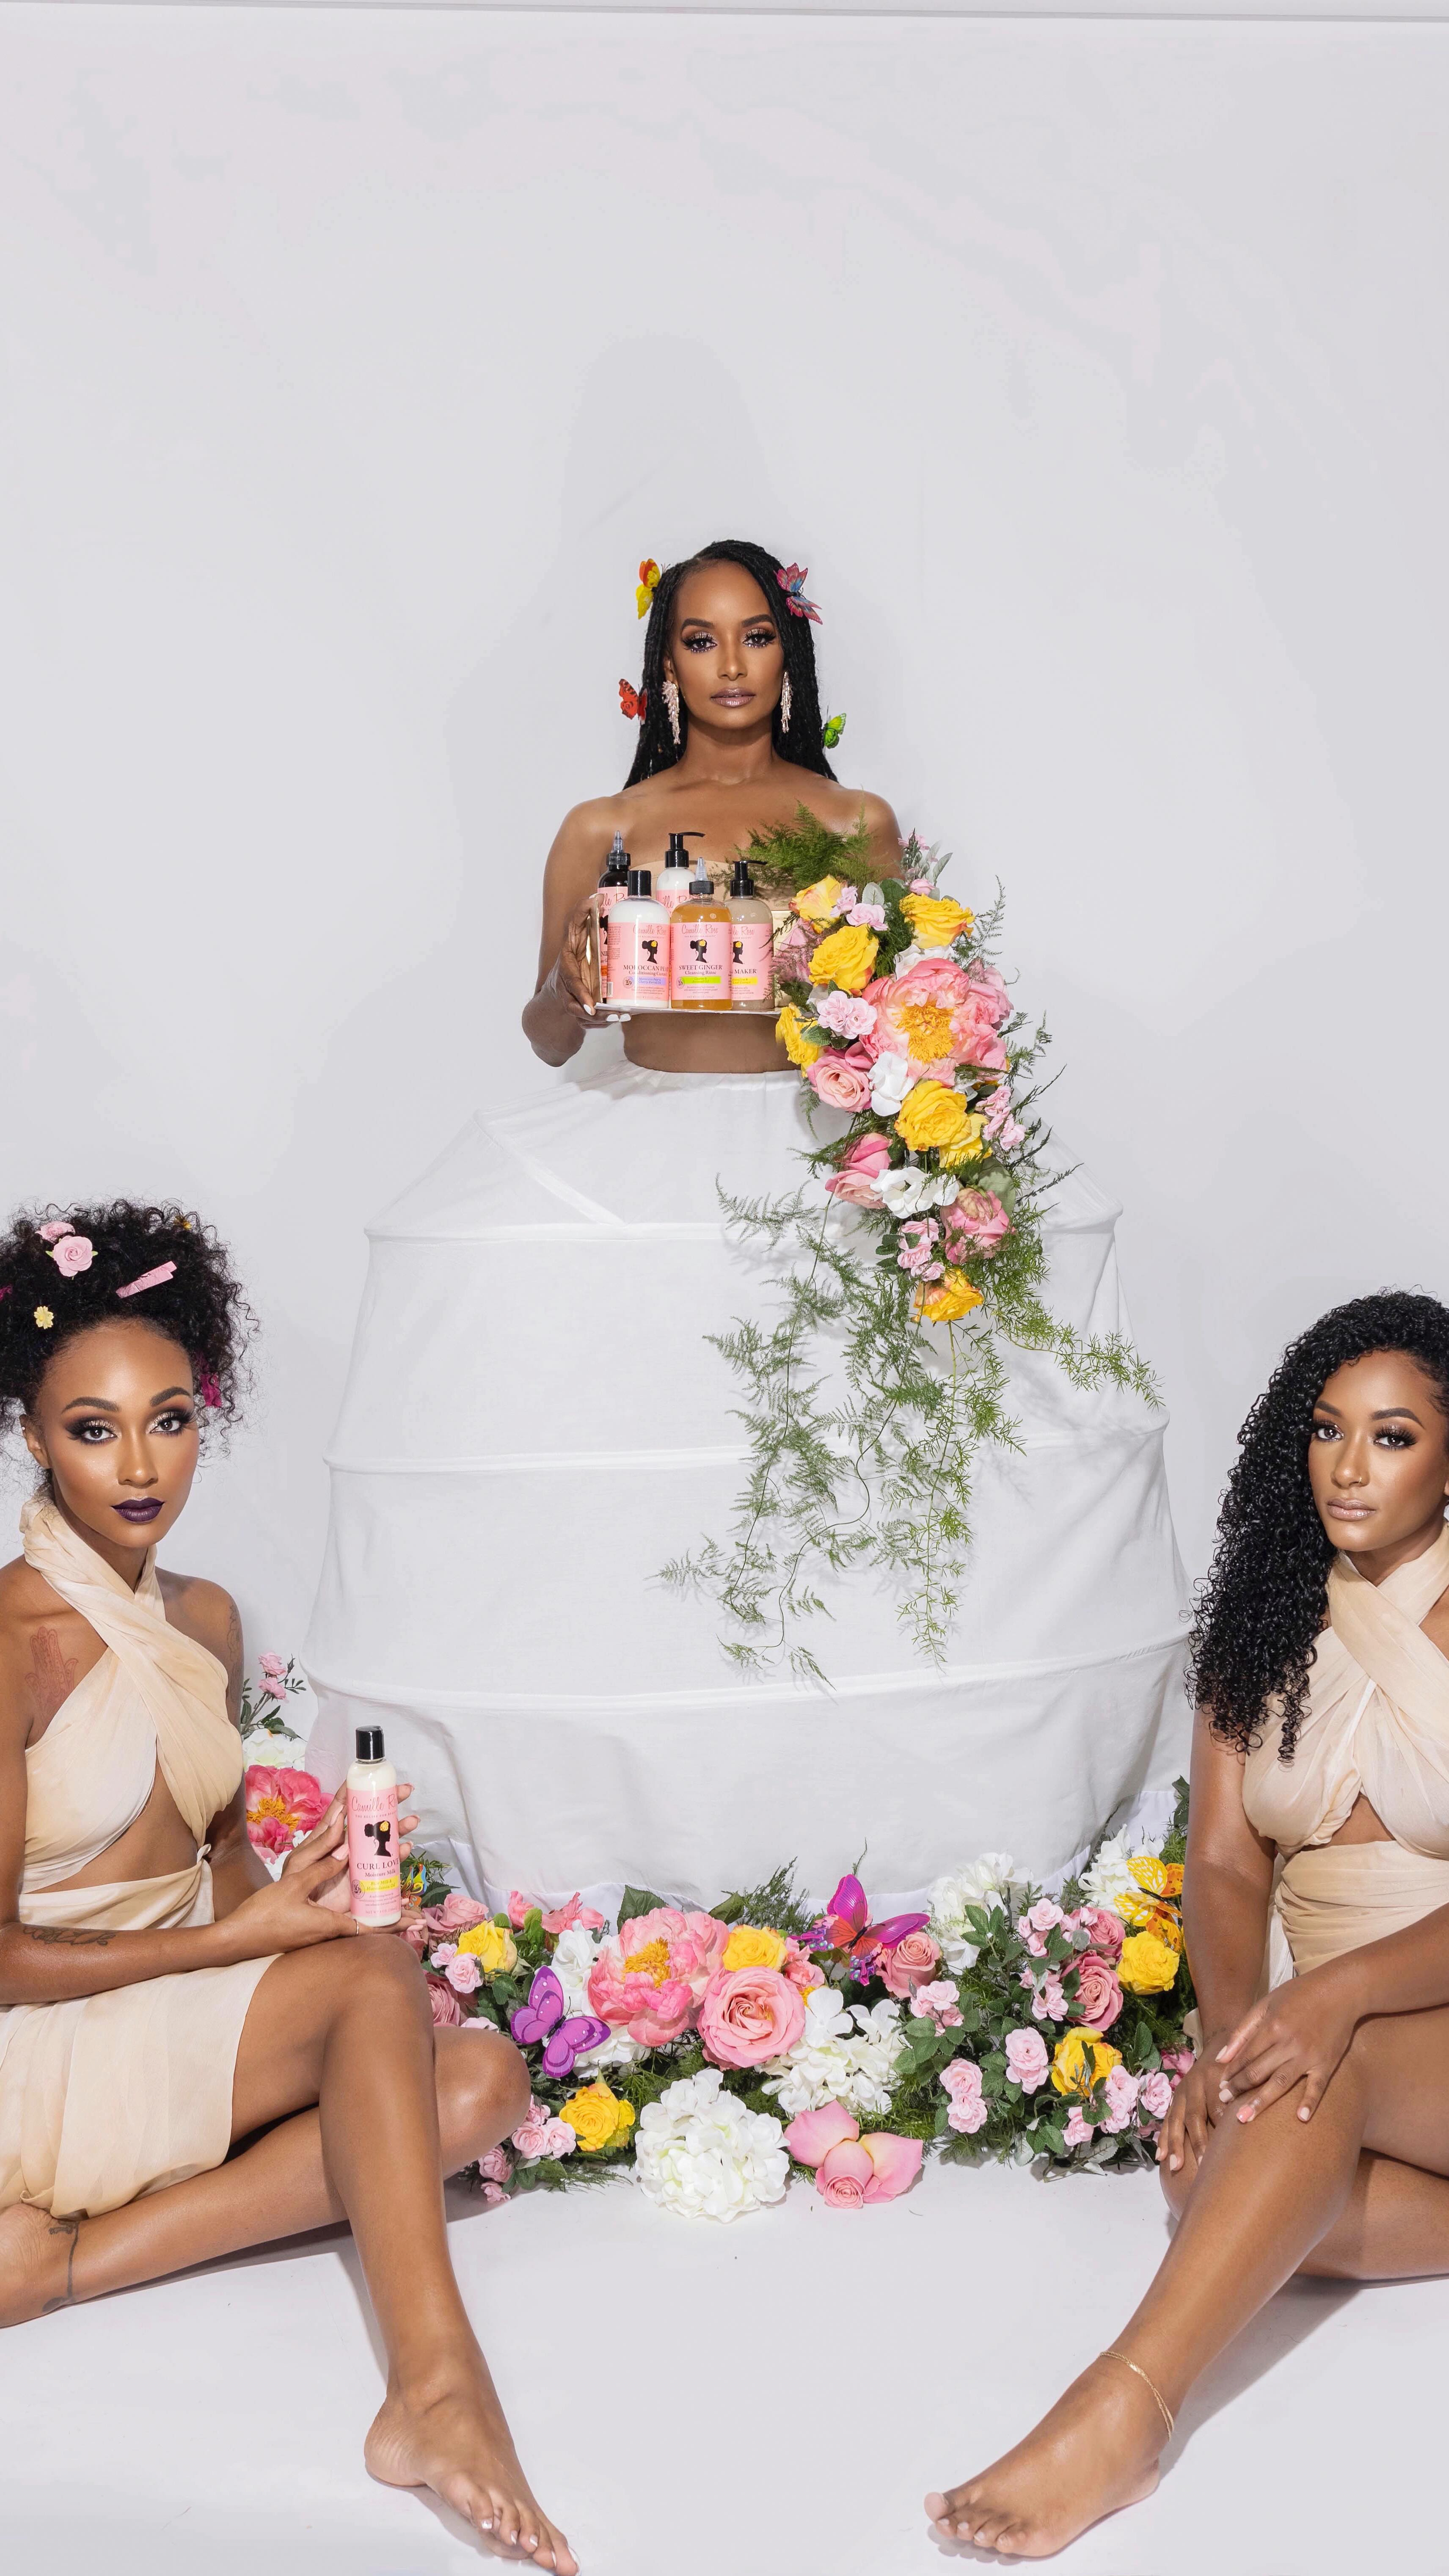
The multicultural beauty business is an explosive industry and at the forefront of this industry are strong, confident women who break through the glass ceiling with innovative commercially competitive ideas.
“It should be everyone’s mission to inspire the uninspired to see the true value of who
they are and what they can accomplish. Our gifts go beyond what we see immediately
before us and encompass the limitless opportunities that we are given every day to be
great.” – Janell Stephens
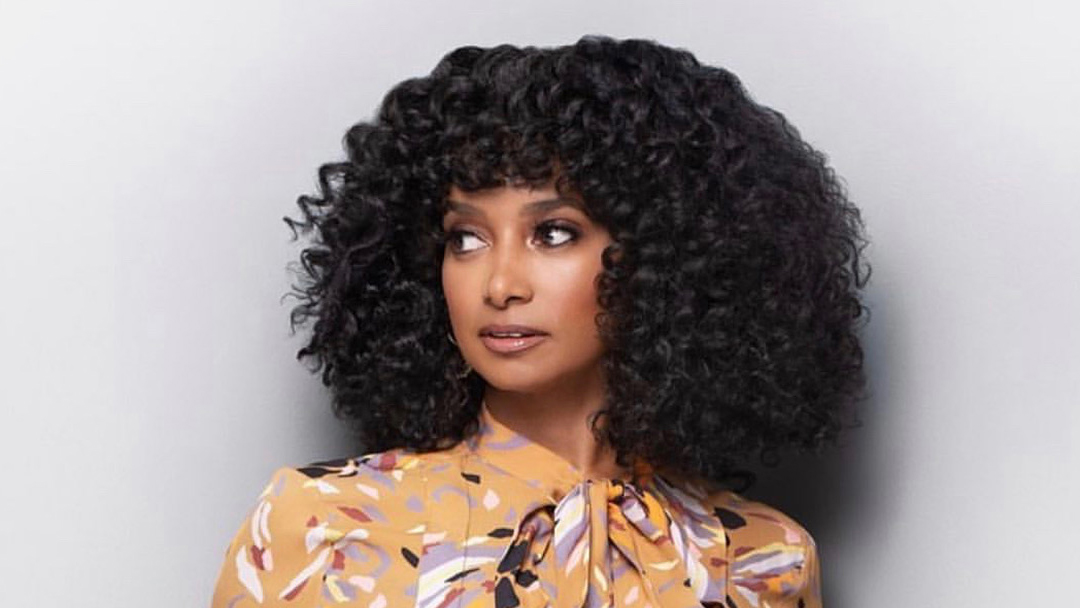
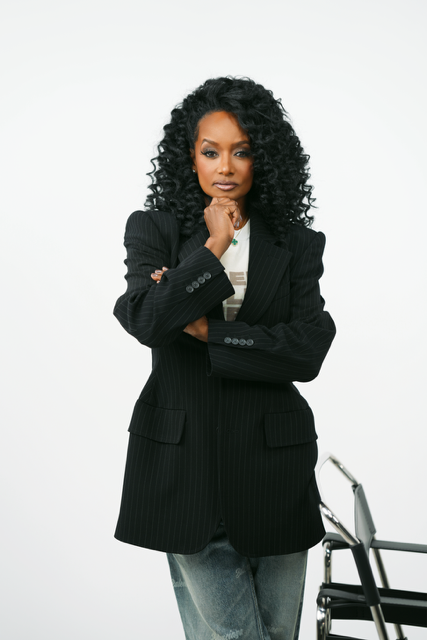
Janell Stephens, CEO and founder of Camille Rose LLC has been at the forefront of the recent radical shift towards natural haircare products, and throughout the beauty industry since 2011. Under Janell’s leadership, the natural haircare brand has exploded onto the consumer favs list and she has been able to grow Camille Rose in both its sales and consumer awareness.
Many diverse communities and consumer markets have embraced clean living, and Janell Stephens has happily accepted her position as one of its pioneers
She has embraced her position as a leader within the beauty industry with the support of legions of buyers and fans of Camille Rose products. These buyers and fans have helped the brand expand to five collections and nearly 40 products.
The Camille Rose brand continues to grow, as does Janell’s dedication to educating, inspiring, and motivating others in the beauty and business industry. As a leader, creator, and influencer, Janell has transcended from being a brand founder to a beauty industry leader.
Learn more about Janelle at MORE ABOUT CAMILLE ROSE
Mastering the Halo Braid: A Complete Fall-Ready Guide
What is a Halo Braid?
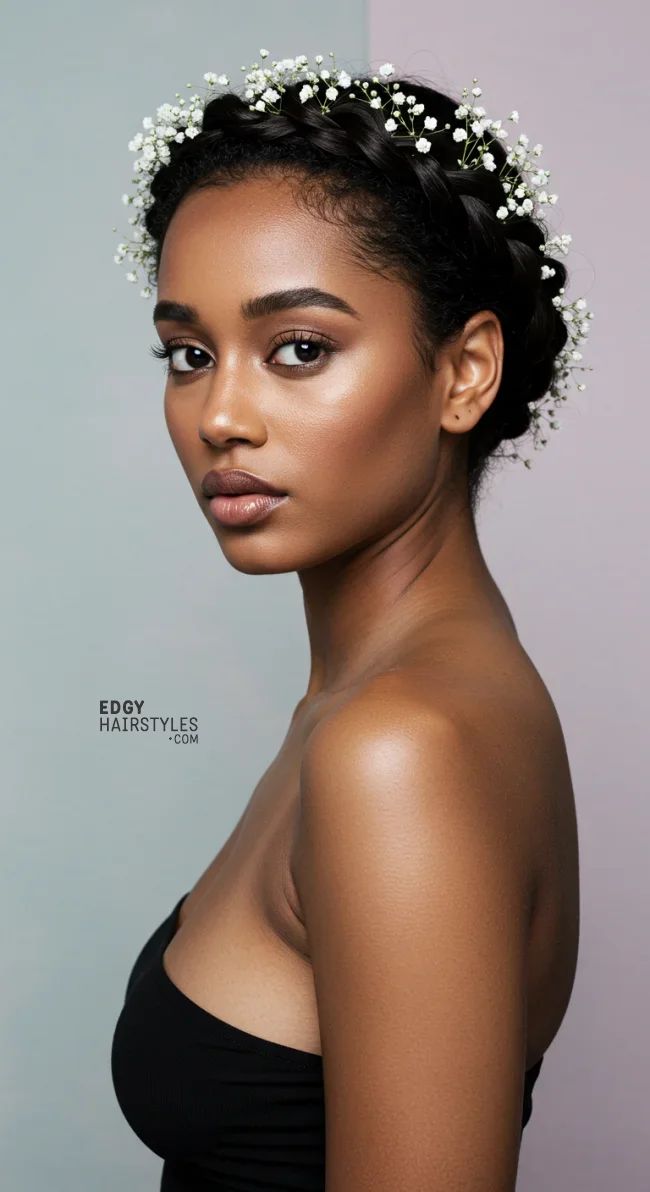
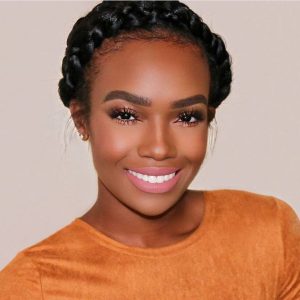
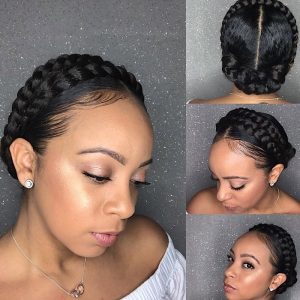
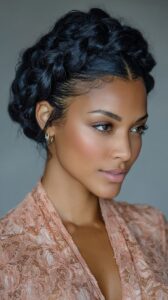
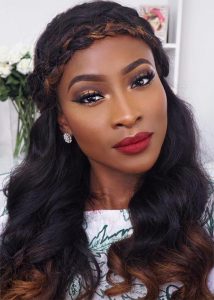
A halo braid is a beautiful plaited protective hairstyle created when a cornrow-style braid (or long Dutch braid) wraps around your head.
A great option for the holidays that is quick and easy and can be styled on naturally curly hair as well as all other hair types is the halo braid. The style creates a “halo effect,” hence the name halo braid. You can dress it up or down. You can also add some hair jewelry to give your hair some flair! You can never go wrong with a sleek halo braid.
 Gather Your Supplies
Before you jump into the styling process, make sure you have all the supplies you need. Doing this will make the process much quicker and easier to help you to achieve this flawless look in no time.
Hair Prep Supplies 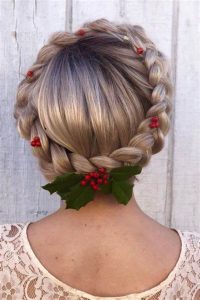
- Clarifying Shampoo
- Moisturizing Shampoo
- Moisturizing Conditioner
- Leave-In Conditioner, Oil, or other moisturizing products of your choice
Hair Stretching Supplies
- Hair Bands
- Blow dryer
Styling Supplies
- Edge control (for use with natural hair textures)
- Wide-tooth comb
- Rattail comb
- Denman Brush (for use with natural hair textures)
- Bobby Pins
- Edge Brush
Prepare Your Hair for a Halo Braid
Doing a protective style on unwashed, dry hair is not a good idea. It can lead to excessive pulling, snapped-off strands, pain, and a not-so-great result.
Hair prep includes cleaning your hair to get rid of product buildup, conditioning to nourish the strands, and moisturizing to ensure your hair stays happy and healthy while the style is in place.
Shampoo Your Hair
The first step to preparing your hair for a protective style is to wash it. First, wet your hair and apply a clarifying shampoo. This type of shampoo is best for removing product buildup from your hair.
When shampooing, be sure to focus on your roots, and let the shampoo work down to the ends on its own. Applying shampoo directly to your ends can cause tangles and unnecessary dryness.
Next, rinse out the clarifying shampoo and, if you have time, repeat the process with a moisturizing shampoo. This will replace some of the moisture that the clarifying shampoo may have taken away, prevent tangles, and ensure your hair is clean.
We recommend staying away from shampoos formulated with sulfates, drying alcohols, or parabens.
Condition Your Hair
Next, follow up with a moisturizing conditioner or deep conditioner. This time focus the product on your ends rather than your roots, as your ends need the most moisture. While your hair is coated in conditioner, detangle it with a wide-toothed comb or denman brush. If using a regular rinse-out conditioner, follow the instructions on the product label for the best results. When using a deep conditioner, allow the product to sit in your hair for 15 mins or more. You can even put a shower cap on to trap the heat from your scalp and boost the penetration of the moisturizing treatment. When rinsing out the conditioner, try to use cold water, as cooler temperatures will close up your hair’s cuticles and lock in the moisture.
Here are some great shampoos and conditioners for curly hair:
- Alikay Naturals Caribbean Coconut Milk Shampoo
- Mixed Roots Compounds Curl Cleansing Shampoo
- Palmer’s Moisture Boost Conditioner
- The Doux Ladies First Honey Shampoo
- Creme of Nature Argan Oil Creamy Hydration Co-Wash
Moisturize Your Hair
After you are done shampooing and conditioning your hair, be sure to use moisturizing products, including moisturizing cream, an oil, a leave-in conditioner, or all three! It is often best to apply these products while your hair is still soaking wet, as this ensures that your hair is getting as much moisture as possible. One popular method of moisturizing curly natural hair is the “LOC Method.”
- L – Start with a leave-in conditioner.
- O – Next, apply oil to lock in the moisture from the leave-in.
- C – Finish it off with a cream to seal the hair cuticle and maintain the moisture in your hair.

Here are some great moisturizers for curly hair:
- SheaMoisture Curl and Style Milk
- The Mane Choice H2O Hydration Therapy Intense Nourishing Leave In Conditioner
- Tropic Isle Living Jamaican Black Castor Oil
- Carol’s Daughter Black Vanilla Leave-in
Stretch Your Hair if Your Hair Is Textured
Stretching your hair can prevent knots and tangles and make it easier to do your halo braid. Multiple methods can be used to stretch your hair. You can try the banding method, blow drying your hair with Tension or braiding your hair to prepare your hair for the halo braid.
Instruction on creating your Halo Braid
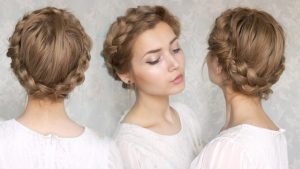 Read below the detailed steps on how to complete a halo braid:
- Use a styling gel or cream and an edge brush or toothbrush to lay your edges down.
- Part your hair at the crown of your head at the highest point. Comb the hair away from the crown of your head in a bowl shape all the way around.
- Part your hair from about 2 inches behind your ear to the crown of your head. This will be the beginning of your braid.
- Begin to braid, incorporating medium-sized sections of your own hair into the braid as you braid around your head. Because you are using your natural hair, the braid shouldn’t be too tight. This will allow you to achieve a fuller look with your braid.
- *Helpful Tip: Be sure to smooth out your hair as you braid. Doing this will prevent tangles and keep the braid looking neat.
- Continue braiding all the way around your head until all of your hair has been incorporated into the braid, and you’ve reached the ends of your hair.
- Tuck the end of the braid underneath your completed halo braid, either above or below it. Use bobby pins to secure it into place.
- Tuck away any flyaways or smooth them down with product, and you are all finished!
Dos and Don’ts of the Halo Braid
Refer to the below dos and don’ts of halo braid styling to help prevent mistakes and frustration in your styling process.
Do
-
Use as much moisturizing product as you feel your hair needs before and during the styling process to ensure the style will stay in place with little frizz or flyaways.
-
Be aware of how much tension is being applied as you braid. If the braid is too tight, this can cause damage to your scalp and hairline.
Don’t
-
Skip out on the steps to prepare your hair before this style. It can be tempting to jump right into styling, especially if you’re in a hurry, but taking the time to properly care for your hair beforehand will ensure that the style actually protects your hair rather than cause damage.
-
Use the entire length of your extension hair without trimming it. This will make the end of the braid very thick and difficult to tuck away.
-
Get your hair wet after styling. Your natural hair will curl up, causing frizz.
6 Foods That Will Make Your Natural Hair Grow Faster
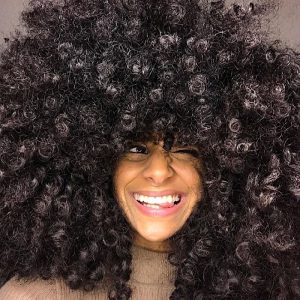 6 Foods That Will Make Your Natural Hair Grow Faster
While you might not feel it just yet, the spring season is just a few weeks away. That means warmer weather, blooming flowers, singing birds—and time to create a hair regimen that will keep your tresses as beautiful as ever. Although there are tons of commercial products on the market that will make your curls—pun intended—spring up, there are also some in-season foods during the springtime that you should stock up on. Foods that are delicious, affordable and have a real knack for keeping hair strong and healthy, right into the summer.
1. Strawberries
It’s kind of crazy that, something so sweet, can actually be really good for you. But such is the case with strawberries. This fruit is one that is super high in antioxidants like Vitamin C as well as potassium, folate and manganese. Fiber and protein are in strawberries too. Health-wise, they are the kind of fruit that regulates your blood sugar levels, protects your heart and provides relief from arthritis-related symptoms. Also, the salicylic acid, alpha hydroxy acid and ellagic acid that’s in strawberries can help to prevent hyperpigmentation in your skin, as its anthocyanins and antioxidant properties will keep free radicals at bay. Although magnesium, omega 3 fatty acids and copper are not in super high amounts in this particular fruit, it’s enough to nourish your hair follicles while Vitamin C removes excess sebum from your scalp that could clog your follicles and hinder healthy hair growth.
How to Use Strawberries: If you want to remove excess build-up from your hair without drying it out in the process, all you need to do is mash up five strawberries with two tablespoons of plain yogurt and a teaspoon of honey. Apply the mask to your hair, right after washing it. Let it penetrate your hair shaft for 15-20 minutes. Then rinse and deep condition your tresses.
2. Chayote Squash
Chayote Squash is the kind of squash that is in peak freshness during the spring. It has protein, fiber, vitamins B6, B9, C and K, as well as copper, zinc, magnesium, fiber and manganese in it (for starters). As for overall health benefits go, chayote squash contains antioxidants that reduce body inflammation, folate to keep your pregnancy healthy and nutrients to delay the signs of aging. It’s great for your hair because the combination of the nutrients can delay greying, reduce breakage and strengthen your strands.
How to Use Chayote Squash: Here at Naturally Curly, we’re super fond of squash. So much, in fact, what we wrote an entire feature on winter squash. Try a recipe for winter squash to accomplish better length retention; equally as interchangeable with chayote squash.
3. Mint
Mint is an herb that is rich in all kinds of nutrients. It contains iron, folate, manganese and Vitamin A, and is able to do everything from improve irritable bowel syndrome and relieve cold symptoms to strengthen your brain function. The reason why you should consider using it on your scalp and hair is because the menthol in mint is great at increasing blood circulation to your hair follicles, plus its antimicrobial and antifungal properties can keep dandruff-causing fungus at bay. Mint is also a great source of carotene and antioxidants; both work together to provide your follicles with the nutrients that they need in order for your hair to stay healthy and strong.
How to Use Mint: Crush 5-10 mint leaves together. Add a tablespoon of fresh lemon juice and a teaspoon of melted coconut oil. Apply it to your freshly washed scalp. Let it sit for an hour and then rinse thoroughly. It will invigorate your scalp while removing unnecessary fungi and dandruff flakes too.
4. Kiwi
Kiwi might be tiny, but it makes a really big difference. Thanks to vitamins A, C, B6, B12 and E, along with potassium, calcium, iron and magnesium, kiwi has the ability to boost your immune system, regulate your blood pressure, reduce oxidative stress, protect your vision and even help you to sleep soundly. Something else that kiwi has in it is zinc. Our hair needs lots of that in order to prevent dandruff, hair loss and strengthen our tresses. Eating and applying kiwi can only benefit your hair, long-term.
How to Use Kiwi: One way to use kiwi in order to prevent hair premature greying while strengthening your locks in the process is to combine a tablespoon of fresh kiwi pulp with a teaspoon of Vitamin E and a teaspoon of henna. Apply the solution to your hair and scalp. Put on a plastic bag and let it sit for an hour. Then shampoo, condition and style as usual.
5. Mangoes
If there’s one reason to get hype about spring’s return, it’s because mangoes tend to be at their peak of freshness. Not only do they taste amazing, but they are high in vitamins A, B6, C, E as well as fiber, potassium, folate, calcium and zinc. When it comes to this particular fruit’s health benefits, mangoes are able to lower cholesterol, promote eye and gut health, manage diabetes, treat anemia and delay the physical signs of aging. Mangoes are the perfect “hair fruit” because it contains about 83 percent water; that, along with the E and zinc that is in them, makes mangoes a wonderful ingredient for hair conditioners and moisturizers.
How to Use Mangoes: Are you looking for relief from dry brittle hair, we’ve totally got you. Check out the Naturally Curly article, “DIY Mango Mask and Butter for Dry Hair” for a recipe that will provide your hair with more moisture than ever.
6. Bee Pollen
When you really stop to think about it, it makes perfect sense that bee pollen would be in season during the spring season since bees are back in abundance during that time of year. Bee pollen is high in protein, amino acids, flavonoids, phosphorus, potassium and selenium. Because of this, it’s able to prevent liver toxicity, strengthen immunity, relieve stress, reduce menopausal symptoms and promote overall healing. Something else that’s awesome about bee pollen is it has L‑Cysteine in it; it’s an amino acid that is full of sulfur which is something that our hair needs in order to grow without breaking. The vitamins A and E that’s in the pollen can keep your hair moisturized too.
How to Use Bee Pollen: If you want an all-natural way to treat hair loss, add a tablespoon of bee pollen to your shampoo. You should see results in as little as a month if you do.
Enjoy these foods—and the spring season that is on its way! And share with us if you try them out as well!
10 Curly Hair Terms Every Natural Should Know By Now
Still not quite understanding all the natural hair terminology you read and hear from the community? Here are the 10 curly terms every natural should know!
Visit our glossary below for more terms and definitions that our community uses.

Co-washing
Co-washing is using a cleansing conditioner to wash hair instead of a shampoo. These conditioners do not contain silicones, parabens, or sulfates, and many have cleansing agents that are gentler than shampoo. Here is your curly hair guide to co-washing.
Deep Conditioning Treatment
A deep conditioning treatment is used for the purpose of repairing and reconstructing the hair from manipulation and provide more moisture. There are is a difference between deep conditioners. There’re light deep conditioning treatments should be used weekly then there’re heavy –protein based deep conditioning treatments that should be used every 4-6 weeks. Refer to these deep conditioning do’s and don’ts to know what you’re doing wrong.
Dusting
Not as harsh as a trim, dusting is the light trimming of your natural ends. You should dust those old ends to get rid of split ends and prevent unwanted breakage. To keep your ends healthy, dust your hair about every 6-8 weeks.
Elasticity
Elasticity is a term used to describe how a material responds to the application and removal of a specific type of mechanical load–i.e., pulling and/or bending. Elasticity is a huge indicator of healthy hair, and what gives it the ability to withhold stress. When your curls loses elasticity, they lack curl retention and become prone to more breakage. Maintain your hair’s elasticity and moisture by doing regular deep conditioning and protein treatments.
Pre-poo
Pre-poo is an oil treatment applied to the hair prior to shampooing. This helps to combat the drying and tangling from the shampoo stripping the hair’s natural oils. Pre-poo your hair with a light oil such as coconut that gives your hair slip to work through tough strands. Here are some tips for making the most of your pre-poo.
Heat Damage
Heat Damage occurs when direct heat breaks and disrupts your natural curl pattern. Heat damage causes a lost of your hair’s elasticity and prevent it from returning to its natural curl pattern. When heat styling your hair, always use a heat protectant and use a lower heat setting on your straightening iron. Are you in heat damage denial? Find out now.
Over-manipulation
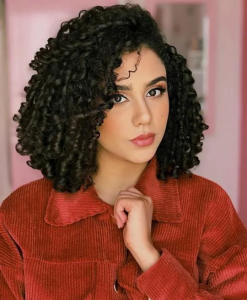
Over-manipulation is the stress and constant pulling on your hair shaft. Daily styling, washing, detangling are other forms of over manipulation. Even protective styles can cause over-manipulation to your hair. Choose styles that protect your hair from over-manipulation such as wash-n-go’s. Look for a guide to low manipulation styles.
Porosity
Porosity is used to determine how your hair absorbs moisture. Hair that losses moisture and constantly dry, is defined as high-porosity. While low porosity hair doesn’t accept moisture or lose moisture so easily. Here’s how to find out your hair porosity level.
Slip
This describes how well or poor a product lubricates the hair for an easier detangling process. Slip is great for those that have a struggle with knots, webbing, and tough tangles. Detanglers and hair milks that provide great slip have ingredients such as water and marshmallow root, flaxseed. View this ingredient list to know how to look for slip.
Shrinkage
A term to describe the loss of inches of our natural hair. All naturals know the struggle and fight shrinkage because it hides our real hair length. However, there are ways we can stretch our hair and elongate the hair strands. Start putting your hair in styles that stretch the curls, such as flat twists and stay away from the wash-n-go.
Photos by Celeste Images

